Drywall: Prep, Delivery and Installation
October 10 - 26, 2006
Preparation for Drywall, October 11, 2006
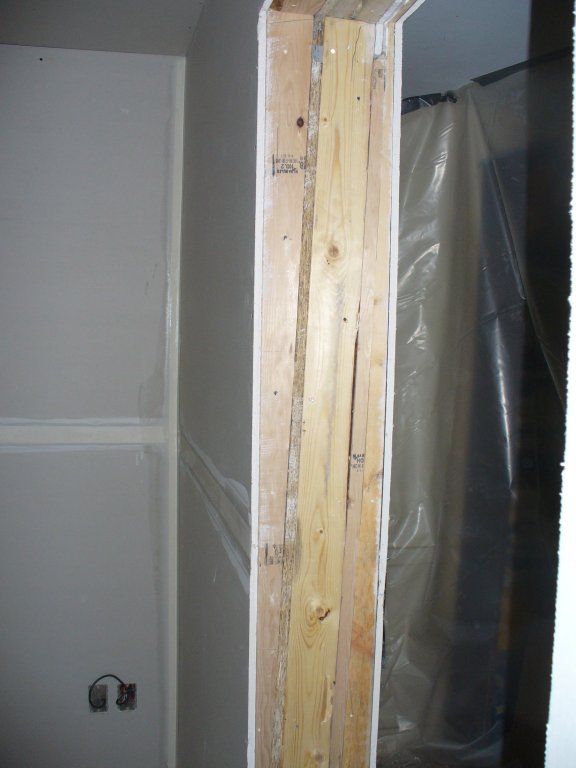
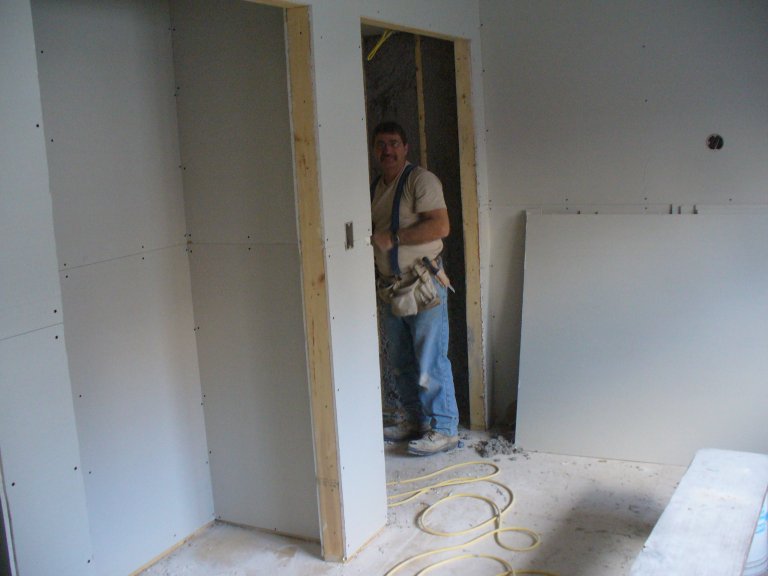
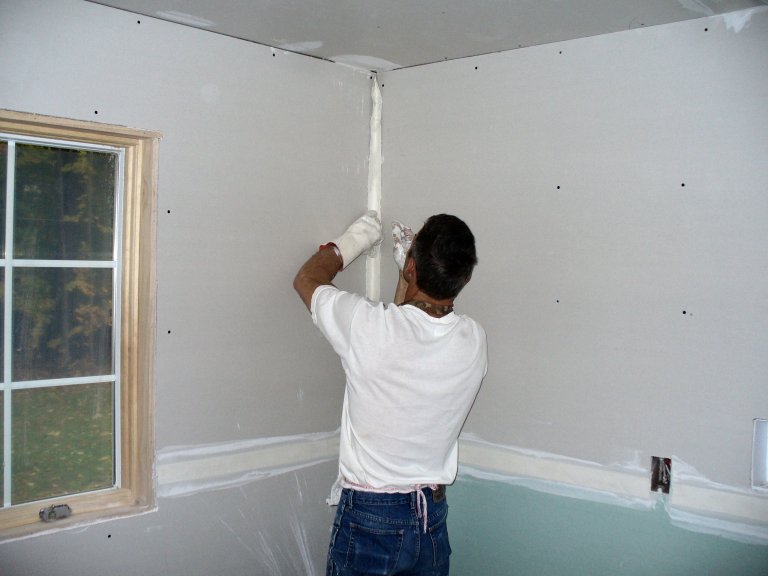
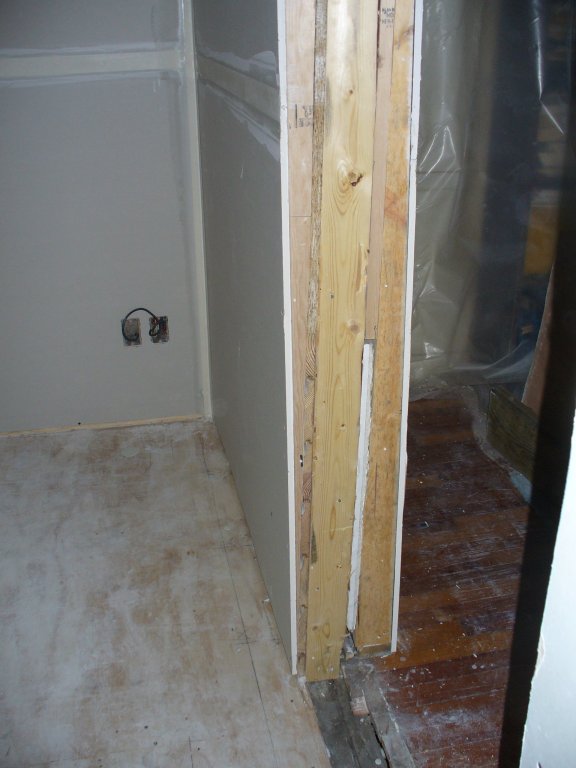 Although this photo was taken after the drywall is up, it shows a problem that Sean
and I wanted to fix BEFORE the drywall was hung. This is the existing exterior house
wall between the new bedroom and old office. It was not plumb. In fact, the wall leaned
south about four inches. We decided to plumb the wall. Sean's plan was to cut wedges
from 2x4s to fur out the wall on both sides. You can see these wedges in the photos above.
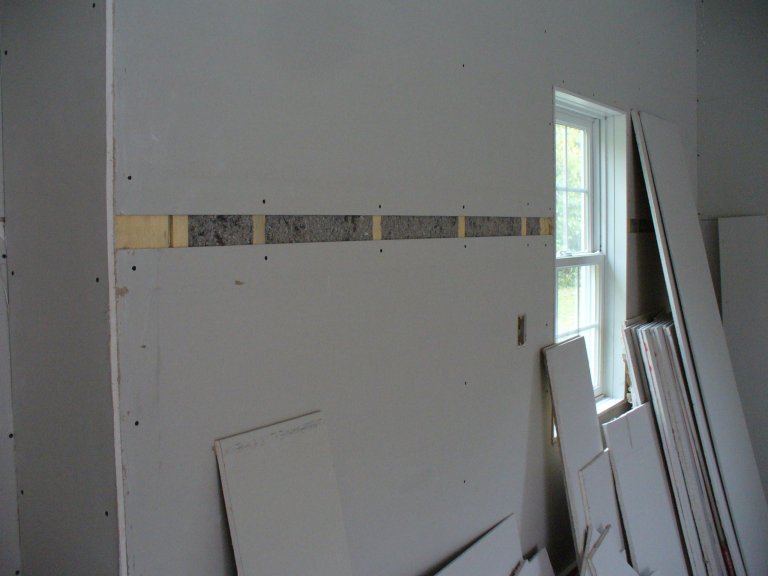
Although this photo was taken after the drywall is up, it shows a problem that Sean
and I wanted to fix BEFORE the drywall was hung. This is the existing exterior house
wall between the new bedroom and old office. It was not plumb. In fact, the wall leaned
south about four inches. We decided to plumb the wall. Sean's plan was to cut wedges
from 2x4s to fur out the wall on both sides. You can see these wedges in the photos above.
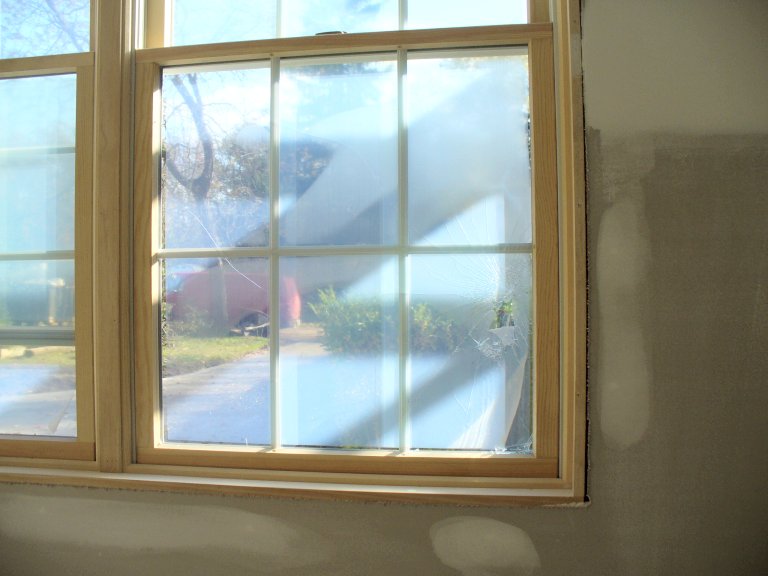 Joe came over to help make the wedges, but one of the 2x4s fell and broke a window sash
(lower right corner) in the bedroom. Sean was able to get a replacement under warranty.
Joe came over to help make the wedges, but one of the 2x4s fell and broke a window sash
(lower right corner) in the bedroom. Sean was able to get a replacement under warranty.
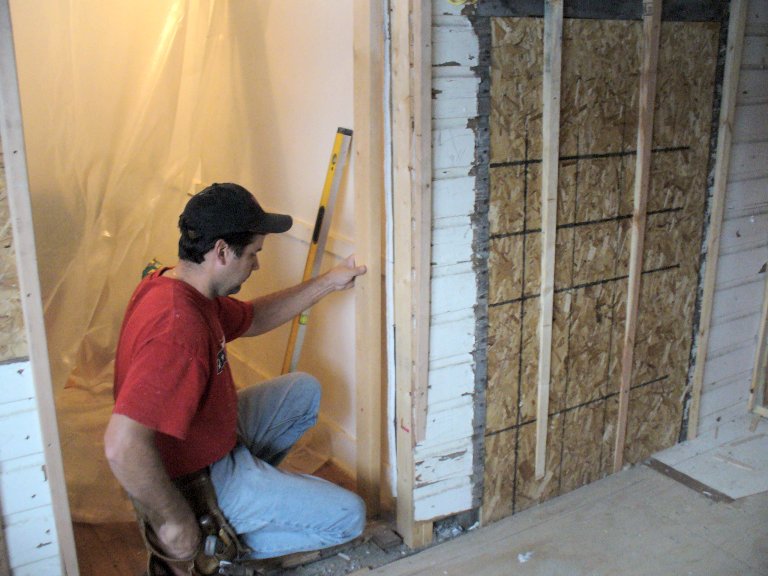
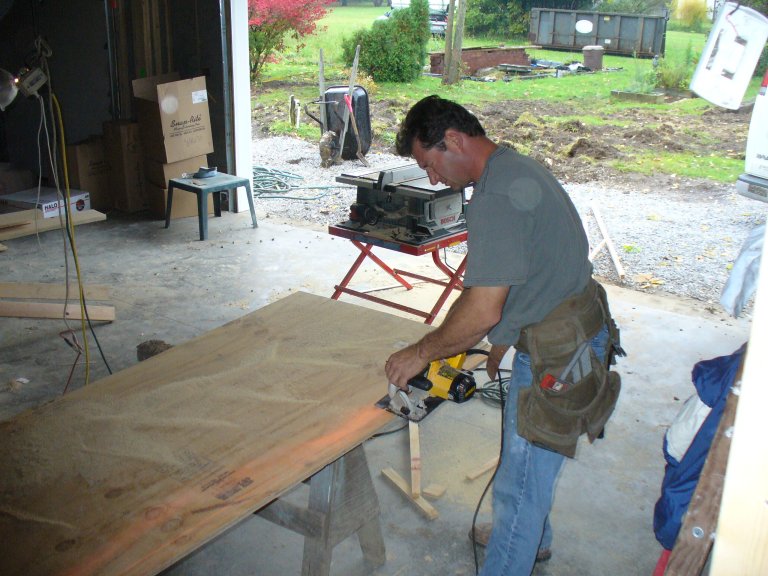
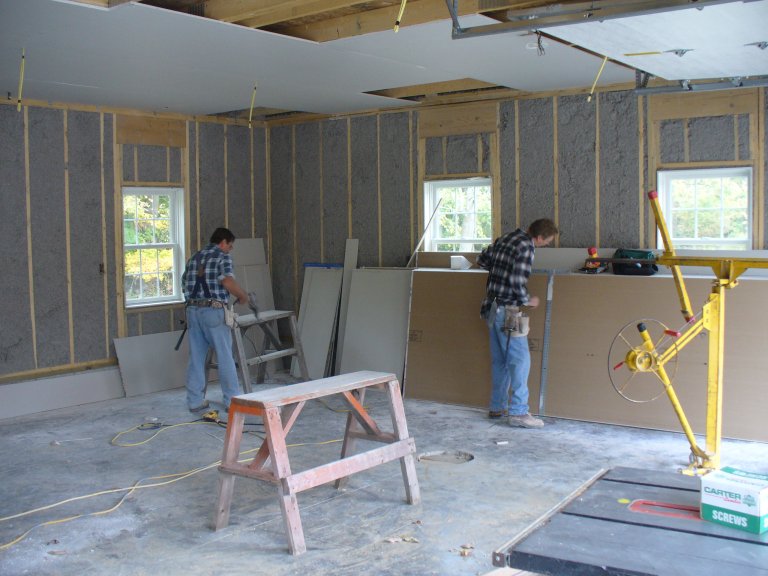
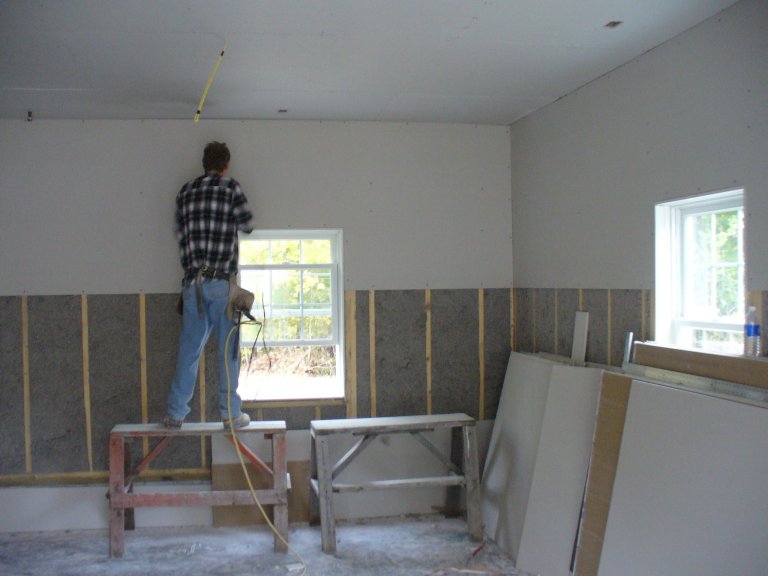
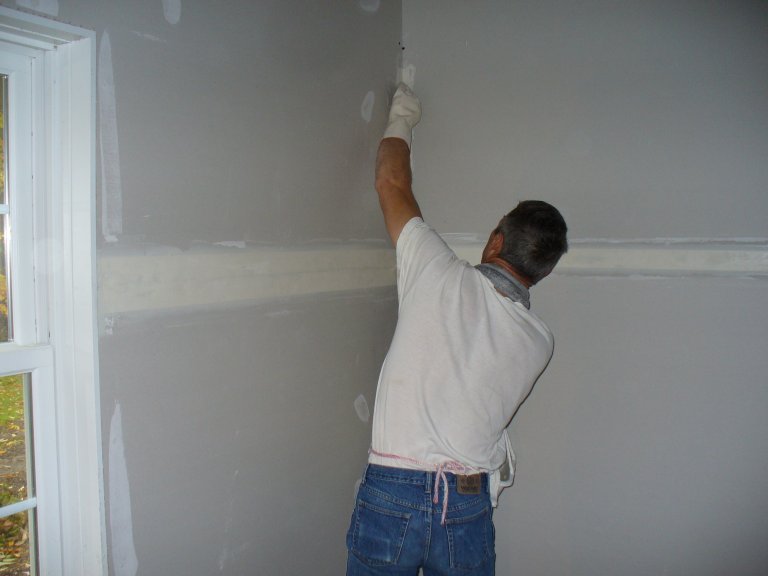
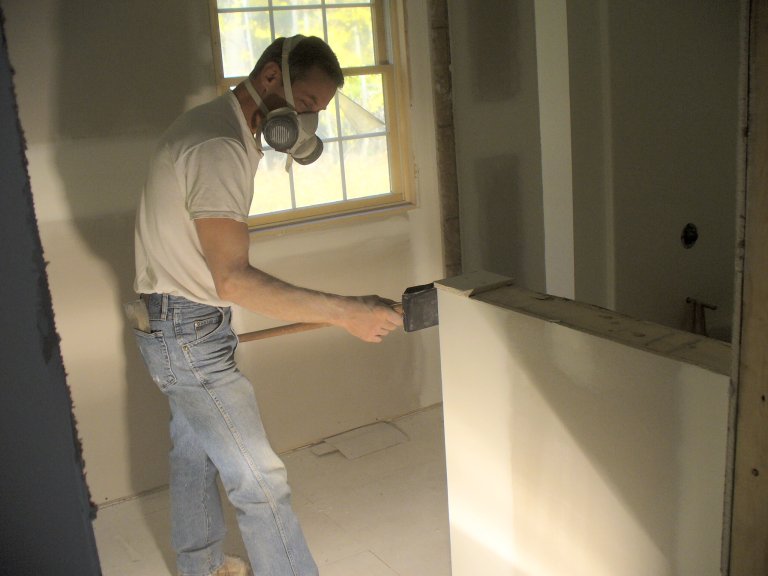
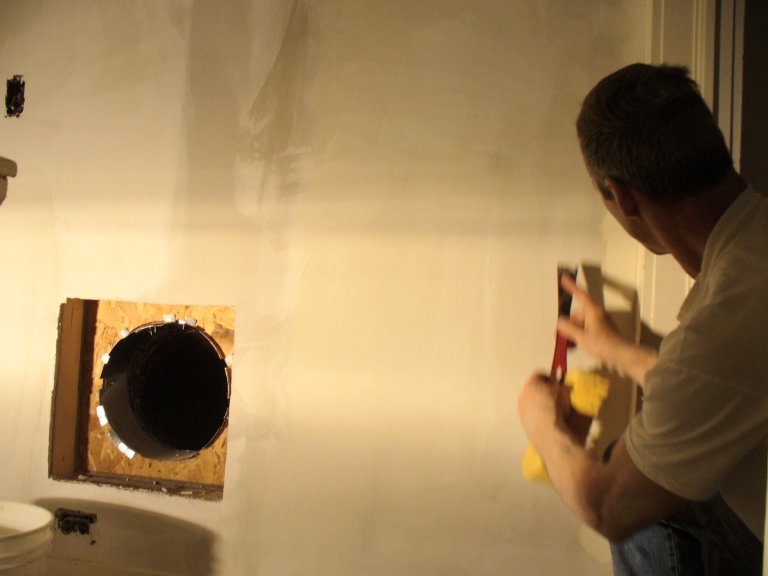
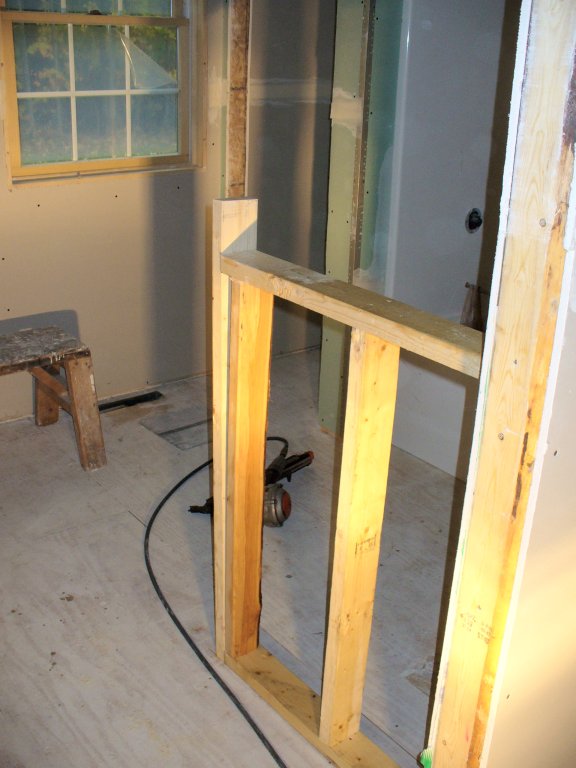 On the left, Sean marks a 2x4 for plumbing the wall prior to drywall installation. On the
right, Sean has installed a kneewall in the bathroom. The taping guys hung the drywall on
it, since Sean built it after the other drywall was hung.
On the left, Sean marks a 2x4 for plumbing the wall prior to drywall installation. On the
right, Sean has installed a kneewall in the bathroom. The taping guys hung the drywall on
it, since Sean built it after the other drywall was hung.
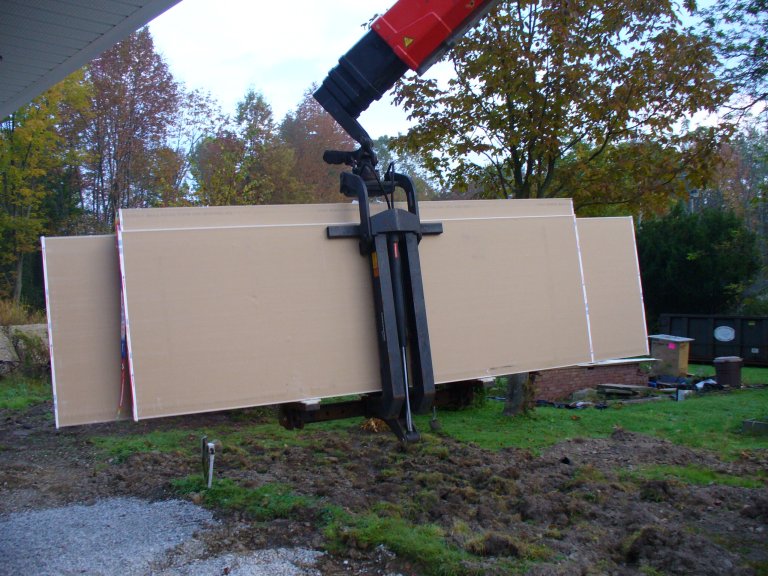
Drywall Delivery October 10, 2006
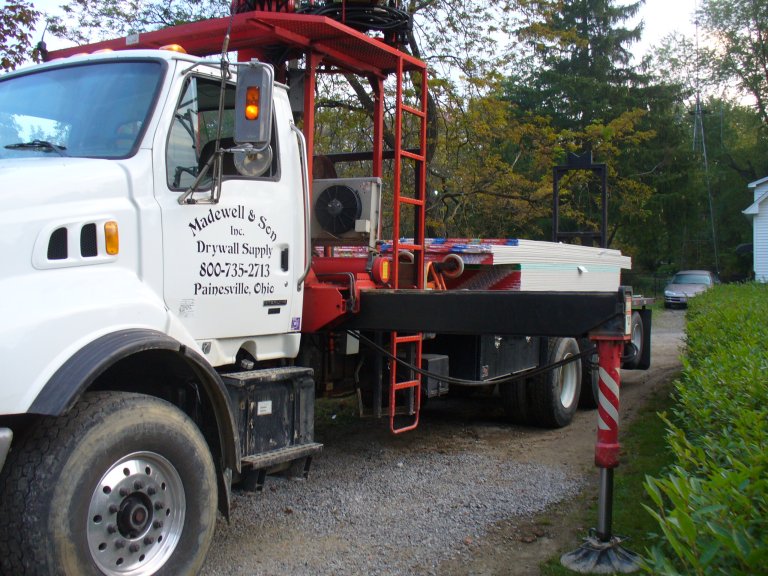
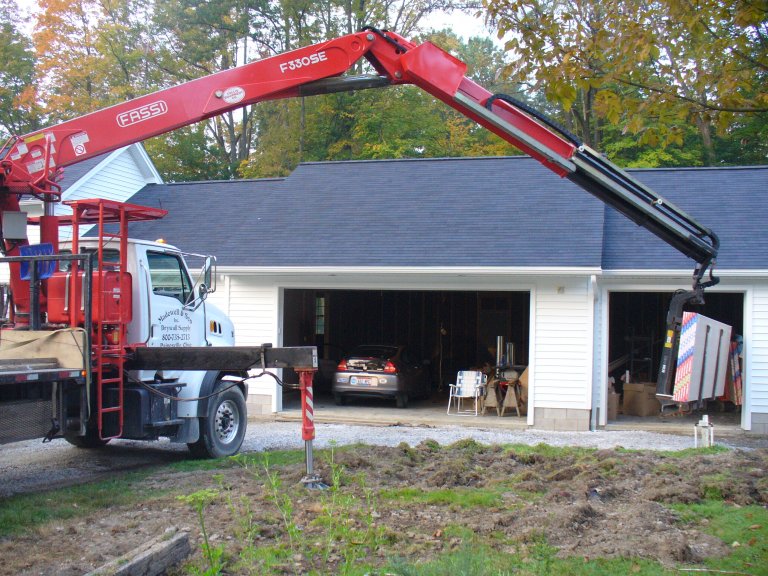 This monster is capable of going straight up 70 feet! It is designed to deliver drywall
to four stories up. I missed taking photos of Sam and Bryan who delivered the drywall.
This monster is capable of going straight up 70 feet! It is designed to deliver drywall
to four stories up. I missed taking photos of Sam and Bryan who delivered the drywall.
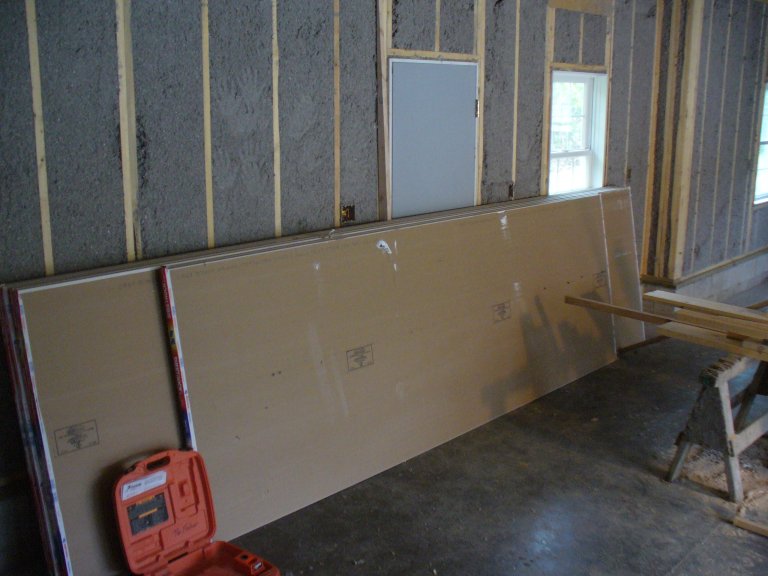
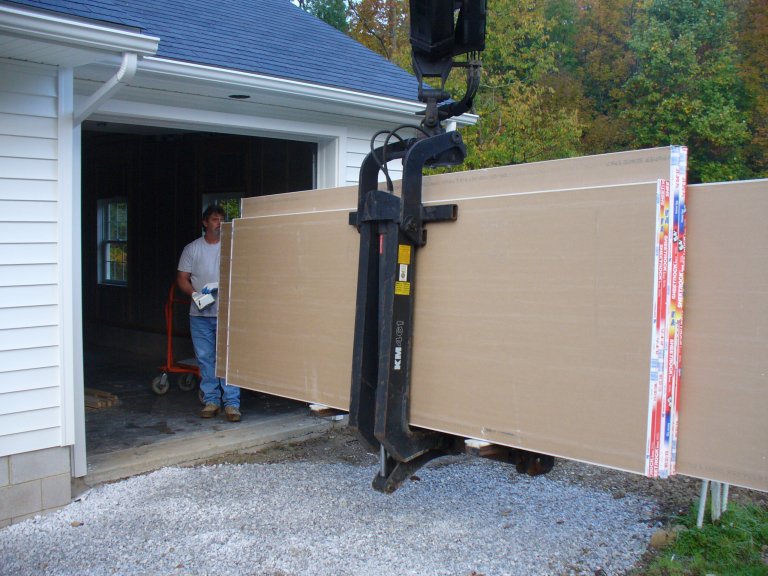 The first of several loads went into the garage. The sheets that are installed on the
firewall between the living space and garage are 5/8" thick and 16 feet long and weigh
upwards of 275 lbs! In Canada, I was told, they manufacture such sheets but the Canadian
equivalent of our OSHA will not let contractors hang them, so they ship them to the USA!
The first of several loads went into the garage. The sheets that are installed on the
firewall between the living space and garage are 5/8" thick and 16 feet long and weigh
upwards of 275 lbs! In Canada, I was told, they manufacture such sheets but the Canadian
equivalent of our OSHA will not let contractors hang them, so they ship them to the USA!
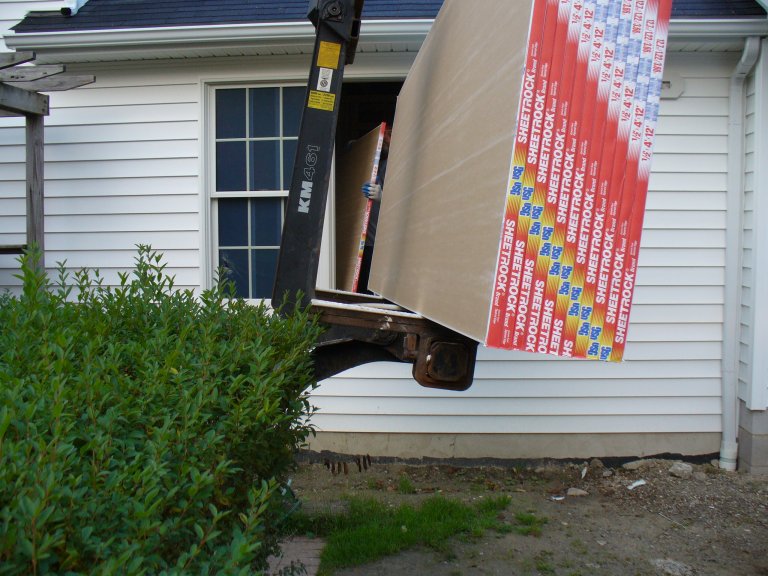
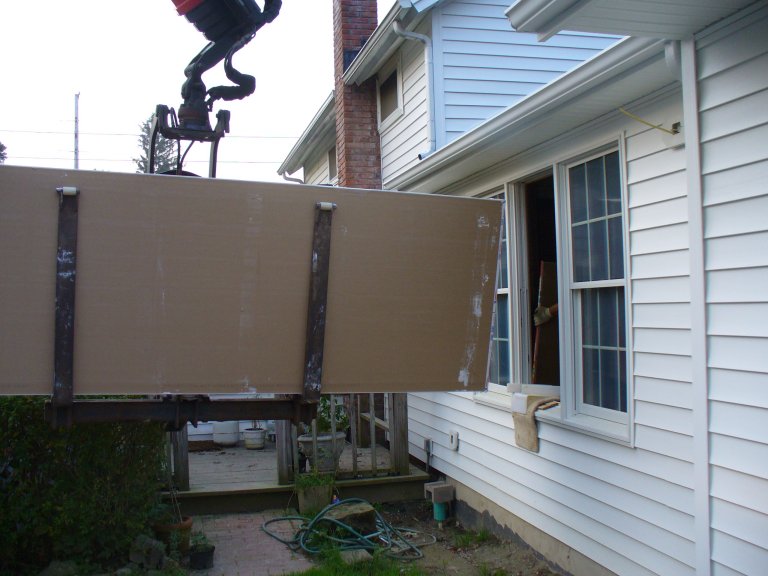 The last load went into the bedroom. The window sashes had to be removed first...
Drywall Hanging October 12, 13, 16 2006
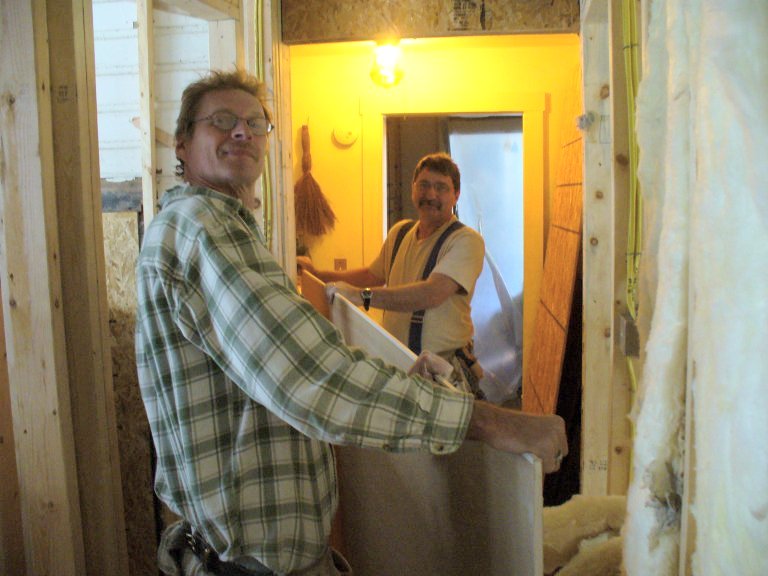
 Les (background) and Rick (foreground) hung the drywall starting in the bedroom.
In the garage more drywall waits to be hung. Note the insulation packed between studs.
Les (background) and Rick (foreground) hung the drywall starting in the bedroom.
In the garage more drywall waits to be hung. Note the insulation packed between studs.
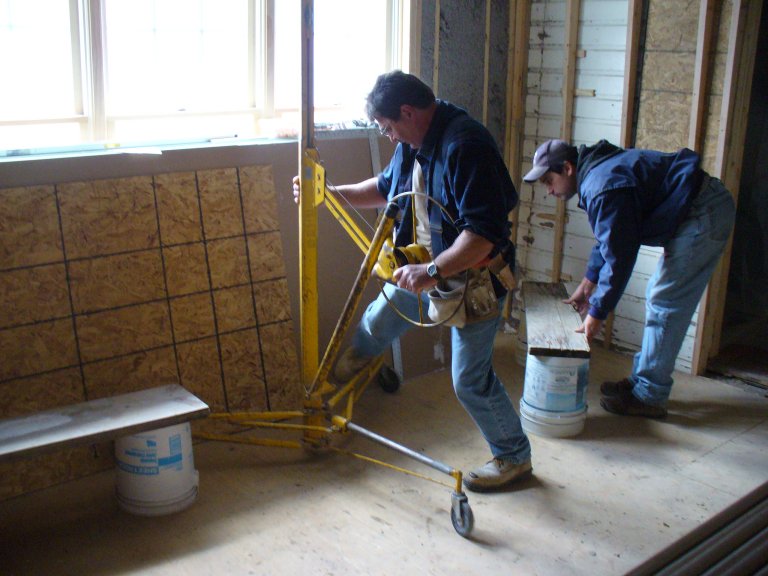
 Rick stands by while Sean and Les postion the first ceiling sheet. A hand hoist platform
is used to support the sheet until sufficient drywall screws are holding it in place.
Rick stands by while Sean and Les postion the first ceiling sheet. A hand hoist platform
is used to support the sheet until sufficient drywall screws are holding it in place.
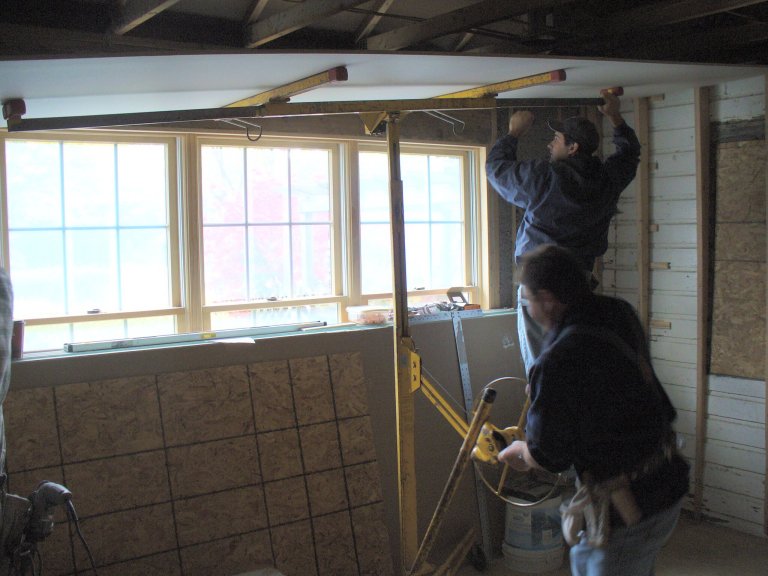
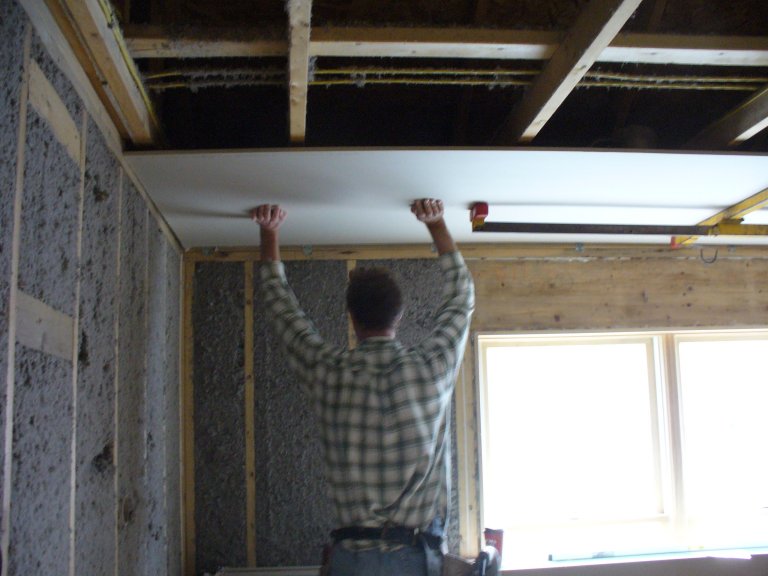 Rick helps position the other side of the sheet while the first screws are driven in.
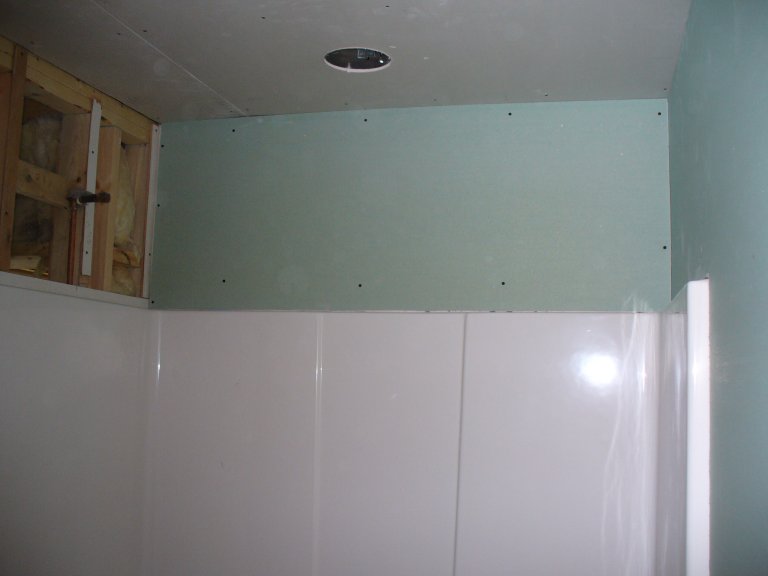 Les is finishing up the bedroom closets on the left. On the right, the green drywall
around the bathroom is used since it is more resistant to moisture.
Les is finishing up the bedroom closets on the left. On the right, the green drywall
around the bathroom is used since it is more resistant to moisture.
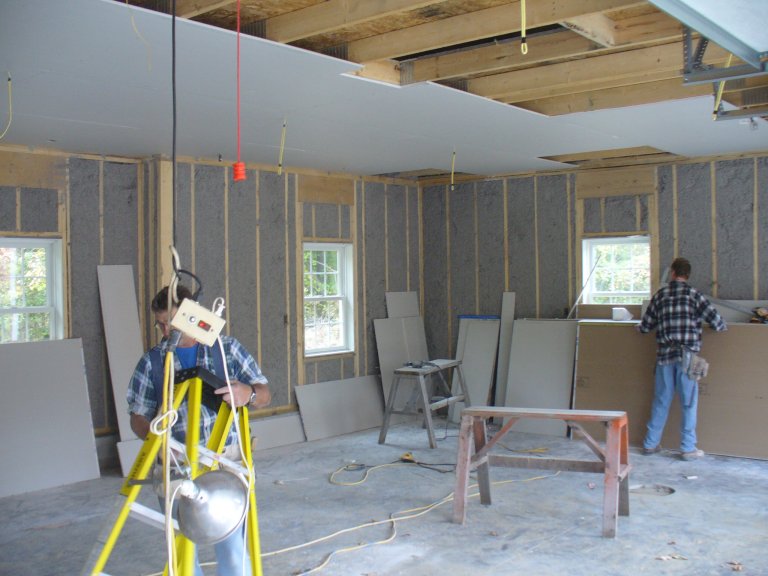
 Les and Rick installing the garage ceiling drywall. The drywall install gets messy, with
a lot of dust due to cutting and rasping the sheets for fit, electrical boxes and ducts.
I had to reseal the plastic sheets covering openings into the rest of the existing house!
Les and Rick installing the garage ceiling drywall. The drywall install gets messy, with
a lot of dust due to cutting and rasping the sheets for fit, electrical boxes and ducts.
I had to reseal the plastic sheets covering openings into the rest of the existing house!
 When hanging the drywall on the garage walls, there was not sufficient 5/8" sheet to cover
the wall. A gap was deliberately left between sheets rather than the top or bottom.
The tapers added 3/8" sheet to fill the gap. This made the mudding much easier and cleaner!
When hanging the drywall on the garage walls, there was not sufficient 5/8" sheet to cover
the wall. A gap was deliberately left between sheets rather than the top or bottom.
The tapers added 3/8" sheet to fill the gap. This made the mudding much easier and cleaner!
Drywall Taping October 19, 23, 25, and 26, 2006

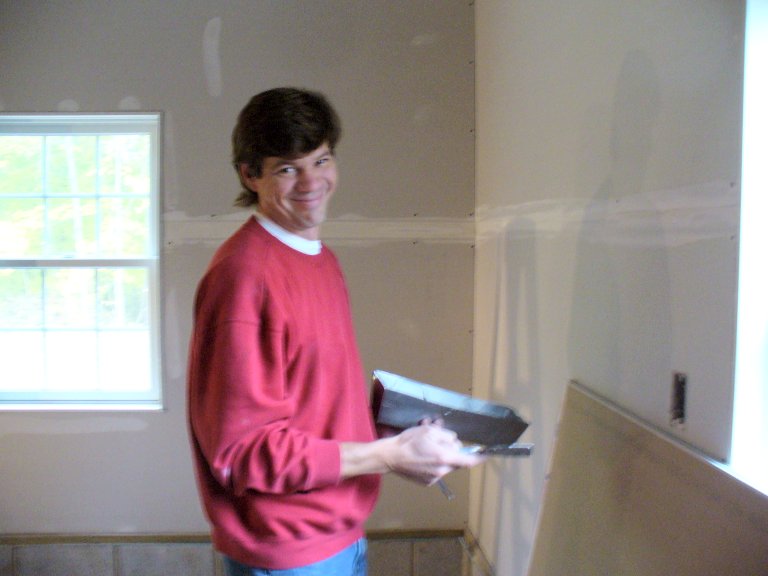 Ed, on left, and Jay, on right, did the taping in three sessions with drying time between.
The fourth and last session was the sanding. These photos were taken during the
first session on October 19th.
Ed, on left, and Jay, on right, did the taping in three sessions with drying time between.
The fourth and last session was the sanding. These photos were taken during the
first session on October 19th.
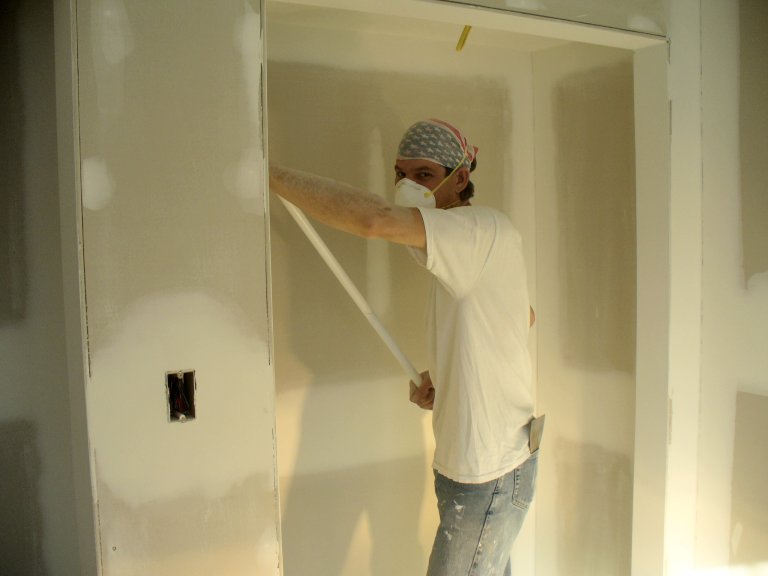
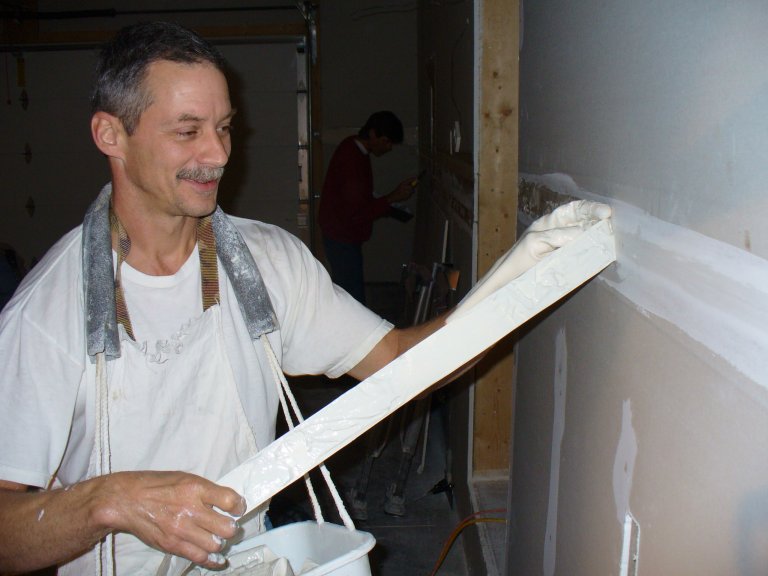 On the left, Ed coats the tape with joint compound, reeling it into a container which he
hung around his neck. On the right, Ed applies the tape to the joints on drywall boards.
On the left, Ed coats the tape with joint compound, reeling it into a container which he
hung around his neck. On the right, Ed applies the tape to the joints on drywall boards.
 Two more photos of the tape being applied to the walls by Ed.
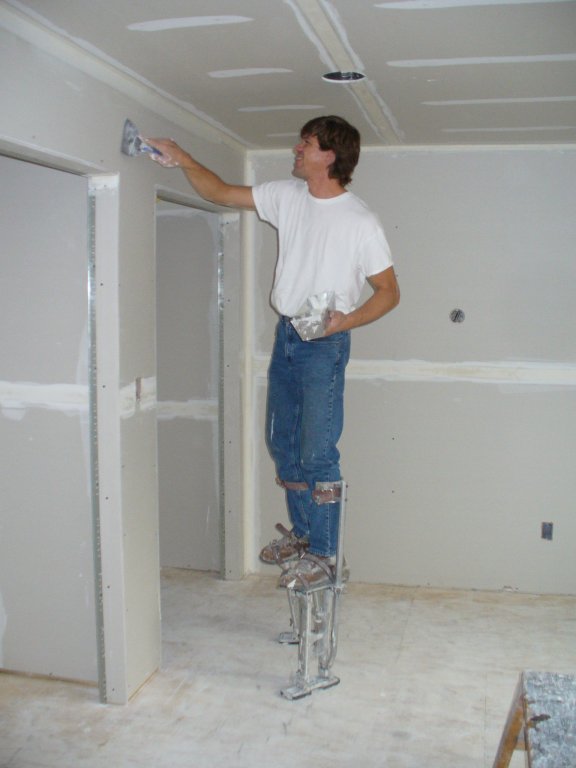
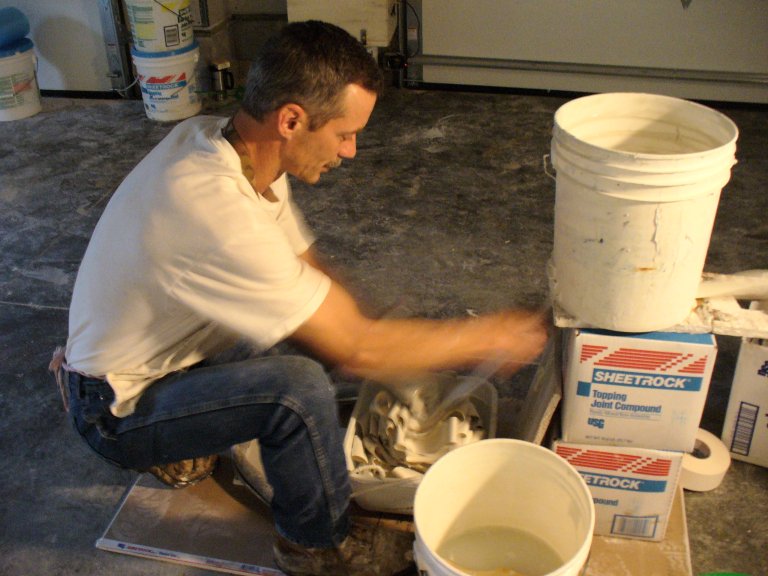
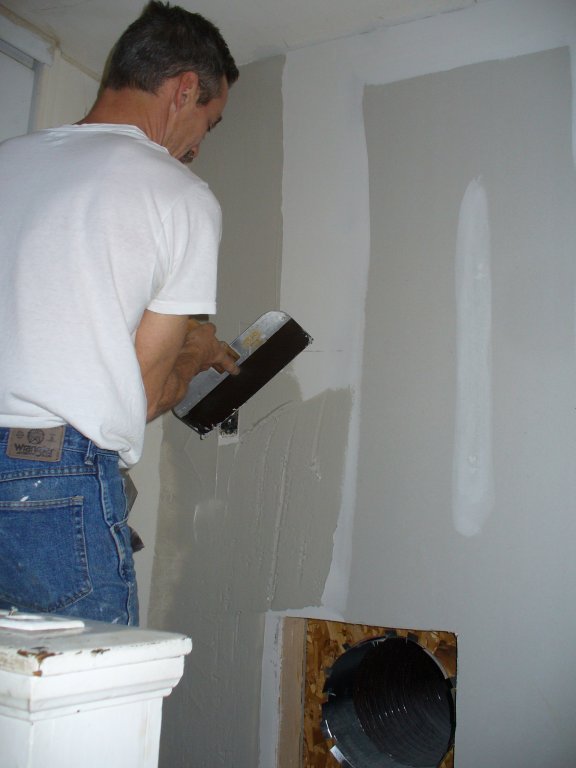
 Here Jay is applying joint compound to the bedroom closet wall. Note the small stilts!
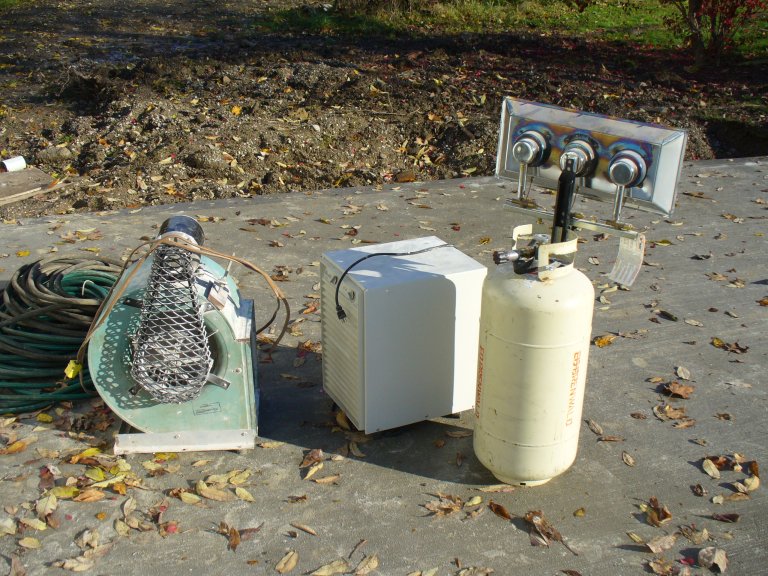
In the right photo are some of the pieces of equipment used to dry the joint compound
between sessions. The green centrifugal blower was setup in the hallway to draw warm
air from the bathroom and bedroom. The thermostat was turned up to 80 degrees. The
blower was aimed down the hallway into the garage. A gas heater, on the right, was used
at the far end of the garage. The dehumidifier in the center was placed over one of
the garage crock drains. This equipment was used day/night to help dry the compound and
prevent freezing.
Here Jay is applying joint compound to the bedroom closet wall. Note the small stilts!
In the right photo are some of the pieces of equipment used to dry the joint compound
between sessions. The green centrifugal blower was setup in the hallway to draw warm
air from the bathroom and bedroom. The thermostat was turned up to 80 degrees. The
blower was aimed down the hallway into the garage. A gas heater, on the right, was used
at the far end of the garage. The dehumidifier in the center was placed over one of
the garage crock drains. This equipment was used day/night to help dry the compound and
prevent freezing.
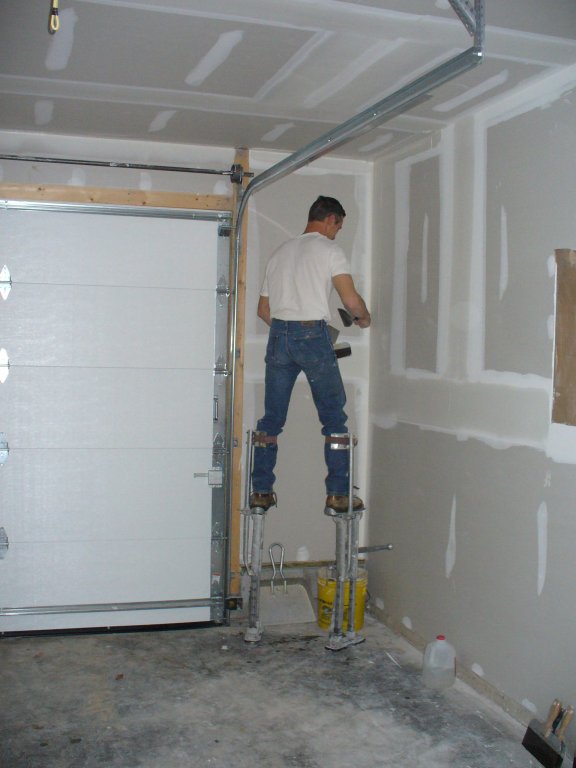
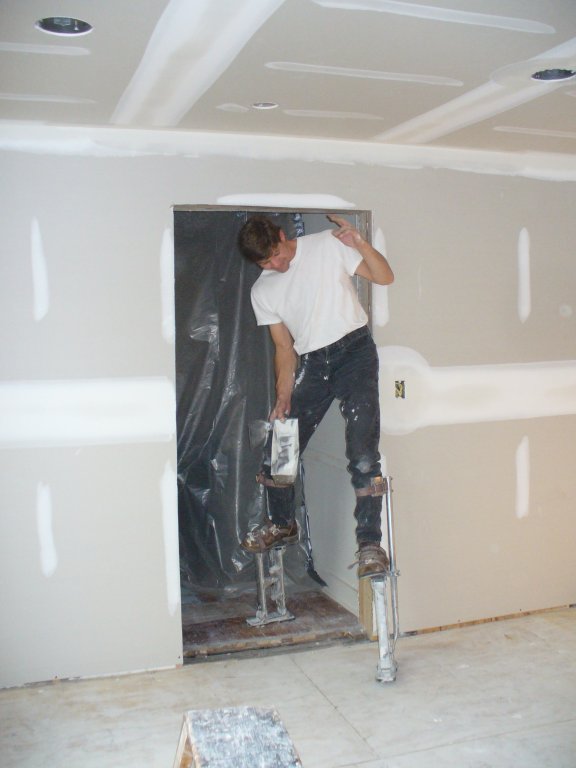
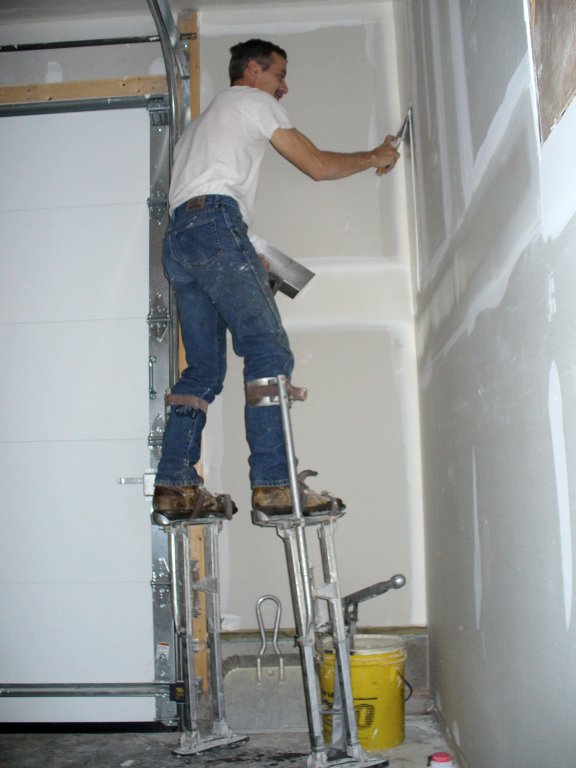 Here is the second session, with Ed on the large stilts working on the garage. These
photos were taken on October 23rd.
Here is the second session, with Ed on the large stilts working on the garage. These
photos were taken on October 23rd.
 Second session images of Ed, on left, and Jay, on right, applying joint compound.
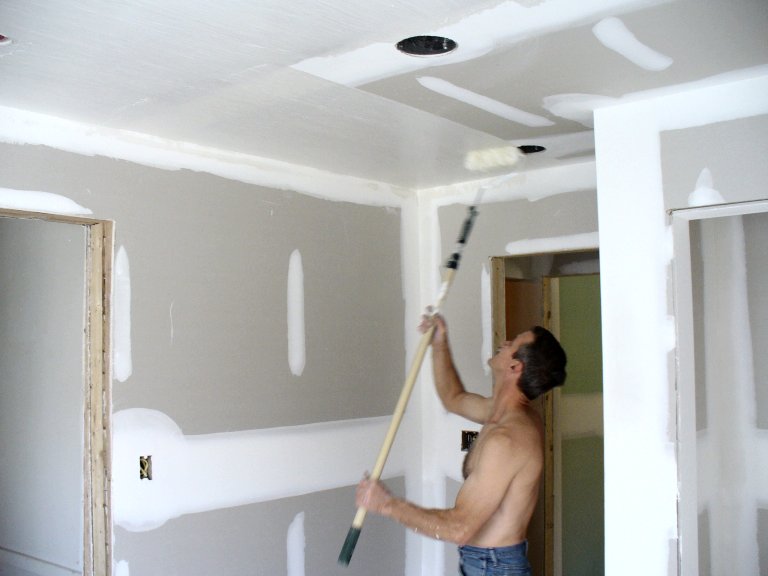
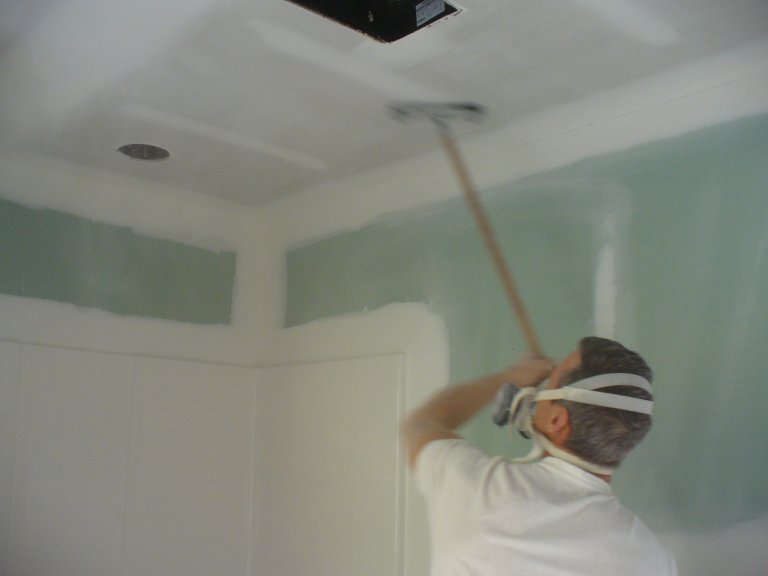
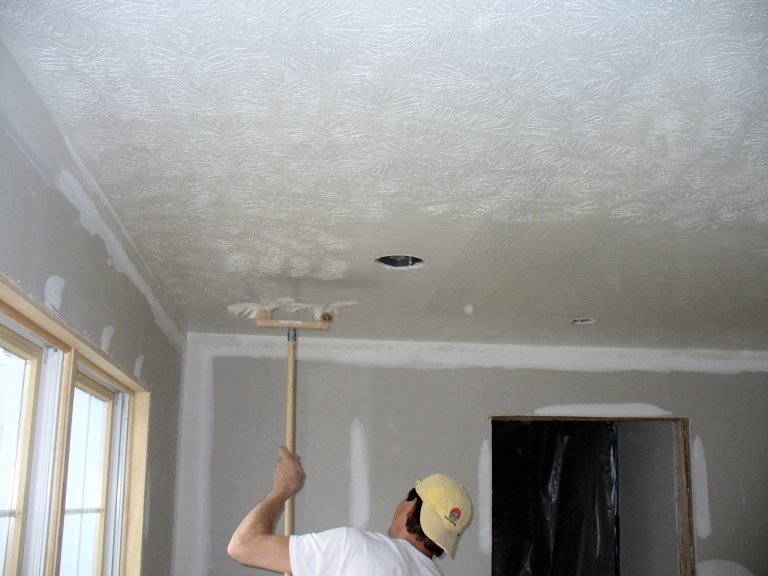 The third session included the "smooth knockdown" or texturing of all the ceilings with
the exception of the bathroom, where steam and moisture will be present. These photos
were taken on October 25th.
The third session included the "smooth knockdown" or texturing of all the ceilings with
the exception of the bathroom, where steam and moisture will be present. These photos
were taken on October 25th.
 The last session is sanding. This is a very messy phase since compound dust is very fine
and gets through ducting (covered for the most part) and around the plastic barriers I
have set up. The sanding was done on October 26th.
The last session is sanding. This is a very messy phase since compound dust is very fine
and gets through ducting (covered for the most part) and around the plastic barriers I
have set up. The sanding was done on October 26th.
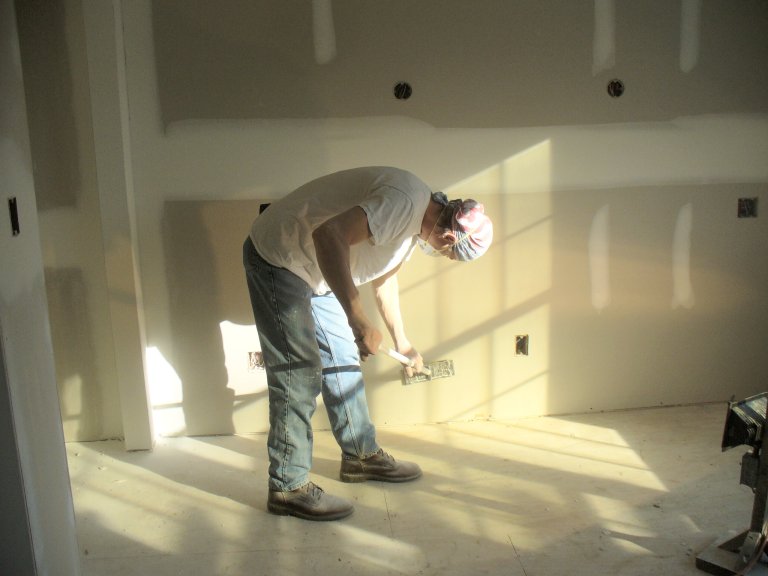 Jay and Ed continue the sanding. Note that respirators are a neccesity during this work!
 Ed wet sands the drywall in the existing upstairs hallway and in the computer room. He
wet sands with a sponge and uses a scraper. Instead of joint compound, he used a combo
of the white and green Durabond to bind with the existing lath/plaster wall.
Ed wet sands the drywall in the existing upstairs hallway and in the computer room. He
wet sands with a sponge and uses a scraper. Instead of joint compound, he used a combo
of the white and green Durabond to bind with the existing lath/plaster wall.
 Ed, on the right, and Jay, on the left, take a break from the sanding.